Cleaning the Ruger Security Six .357 Magnum
|
Note that this is just the standard cleaning I do for everyday use.
Full disassembly and cleaning is recommended at least once a month for
firearms that are utilized often (as mine are).
Before starting this, read the Preparation page!
|
|
|
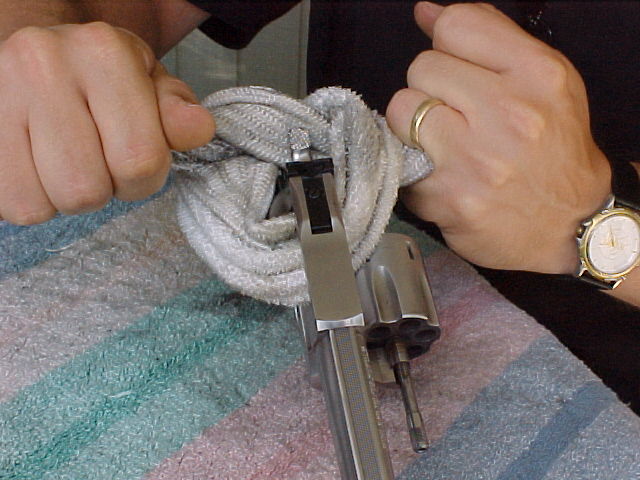
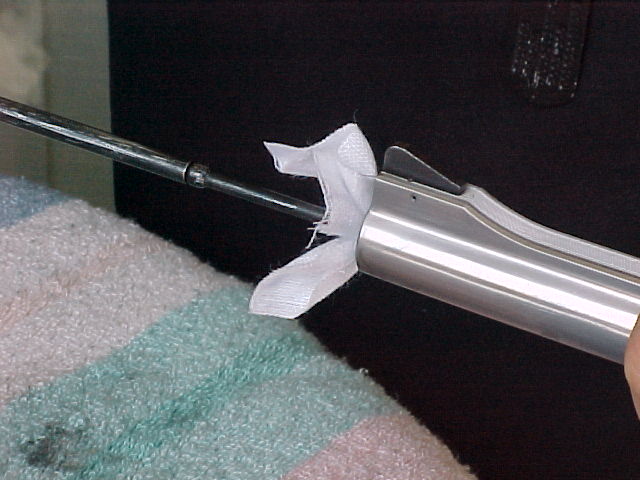
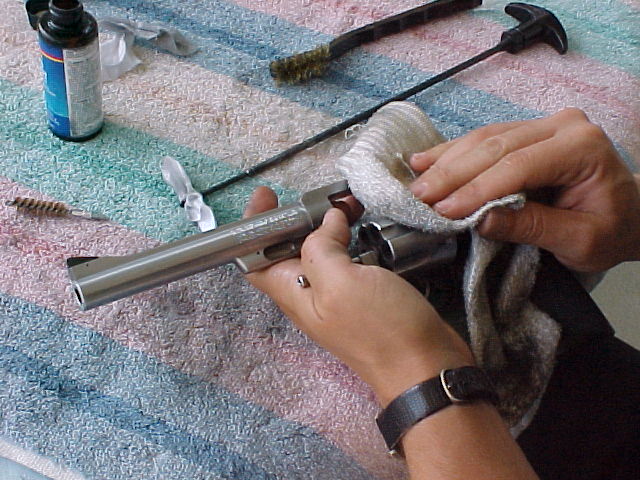
First, tie a cloth (or old sock) around the rear of the cylinder opening.
Make the knot around the hammer spur as shown here. This step serves two
purposes: one, it protects the pin from accidental damage when cleaning the
bore; two, it assures that the gun cannot be armed without taking intentional
steps to make it so. (Of course, ammunition should not be present in
the cleaning area.)
|

|
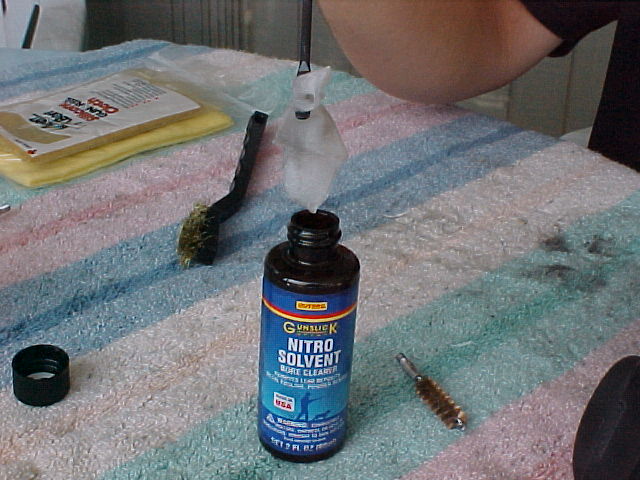
Dip the appropriate bore brush in the cleaning solvent.
|
|
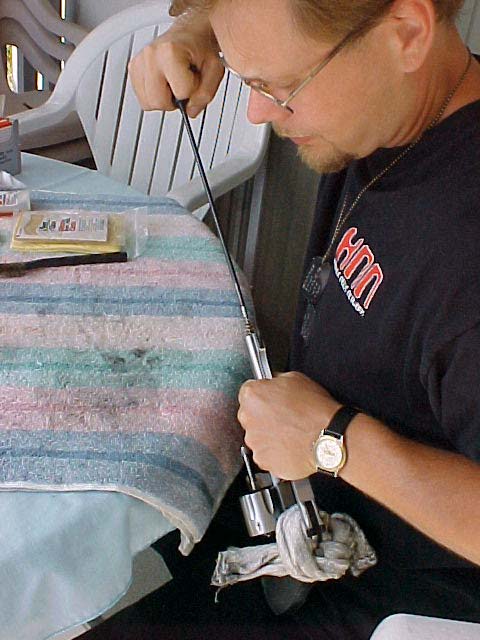
Thread the bore brush through the barrel.
|

|
Make sure the strokes fully exit the barrel on both the down and up stroke.
|

|
As is shown here, the bore brush fully exits the barrel on the down stroke.
(Note how the cloth tied around the back of the cylinder opening helps protect
the bore brush and the cylinder opening back area from accidental damage.)
|

|
When the barrel is cleaned to your satisfaction (having used the light-bending
bar to inspect the barrel), pour a dab of solvent on the brass brush. Use
this brush to clean the muzzle.
|
|
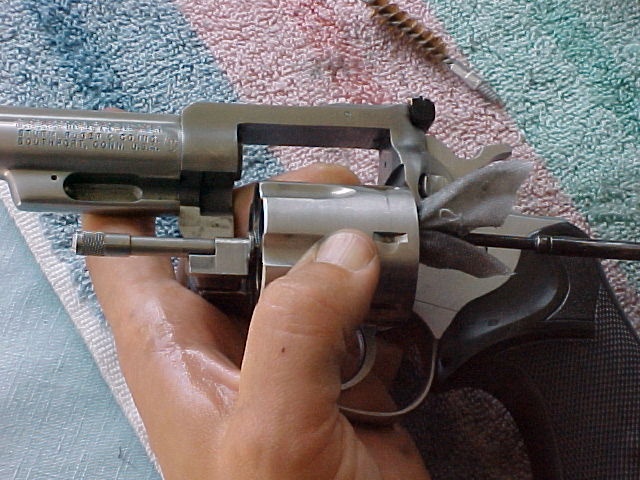
Once the muzzle has been cleaned, dip a cleaning pad in the gun solvent.
|

|
Insert the cleaning pad in the same fashion as you did the bore brush; again,
fully exiting the barrel on both the down and up strokes.
|
|
As shown here.
Repeat this process until the solvent-soaked cleaning pad emerges from the barrel with no visible contaminants.
|
|
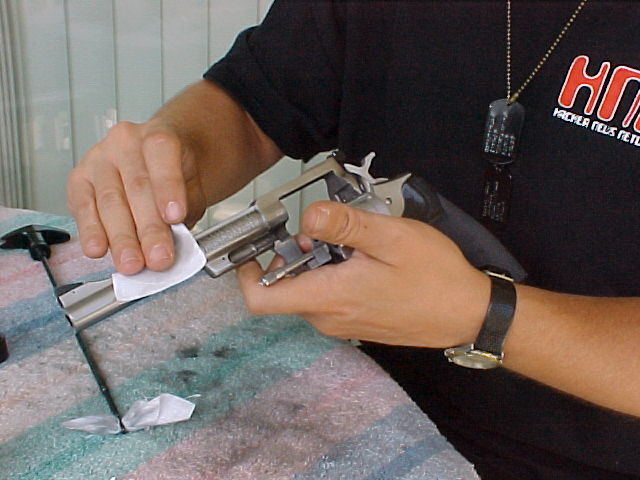
Once the barrel is cleaned to your satisfaction, take a dry cleaning pad and
— in the same fashion as you used the bore brush and wet cleaning pads
— run the pad through the barrel to remove all excess solvent.
|
|
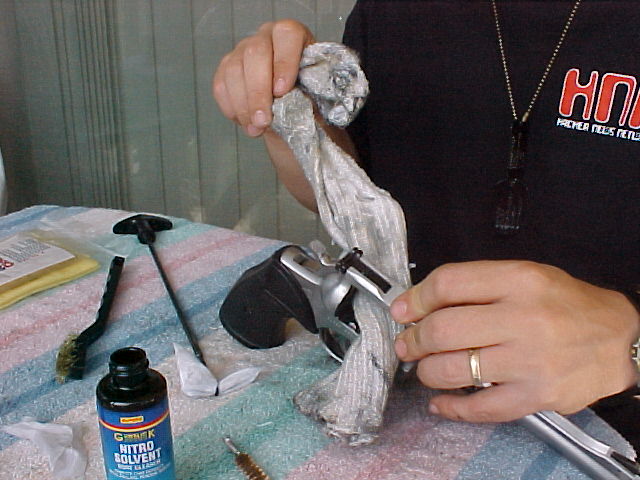
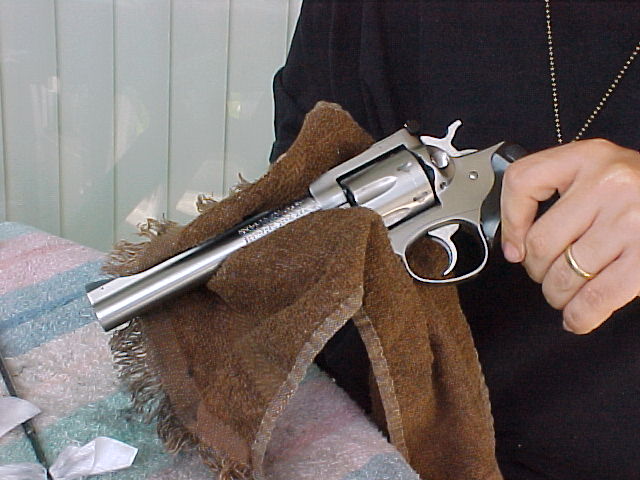
Once finished with the barrel-cleaning process, you may remove the cloth from
the cylinder opening.
|

|
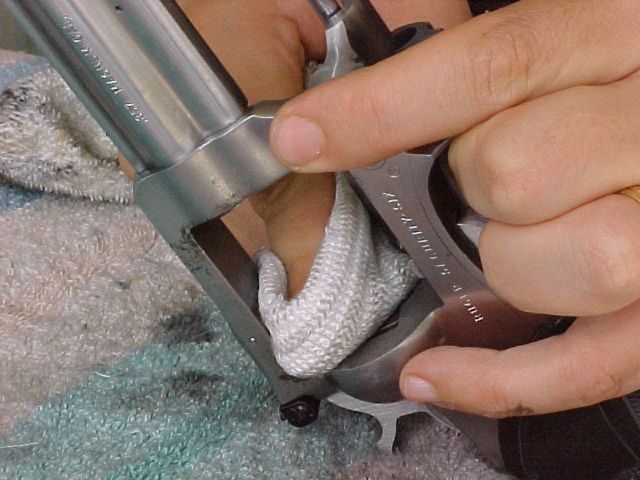
Pour a dab of solvent on the brass brush and clean the back of the cylinder
opening.
|

|
Once the back of the cylinder opening has been cleaned, refresh the solvent on
the brush and clean the outside of the cylinder.
|
|
With a clean cloth, wipe off the excess solvent from both the cylinder and the
cylinder opening.
|
|
With fresh solvent on the brass brush, clean the cylinder ejector rod and the
front of the cylinder.
|

|
As shown here. Wipe off both parts with a clean cloth when done.
|

|
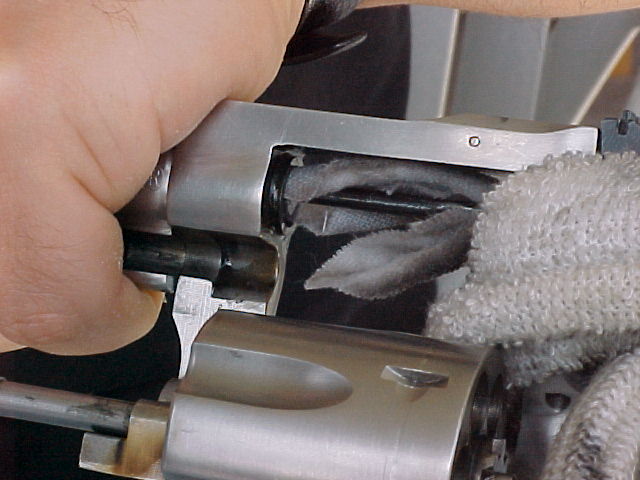
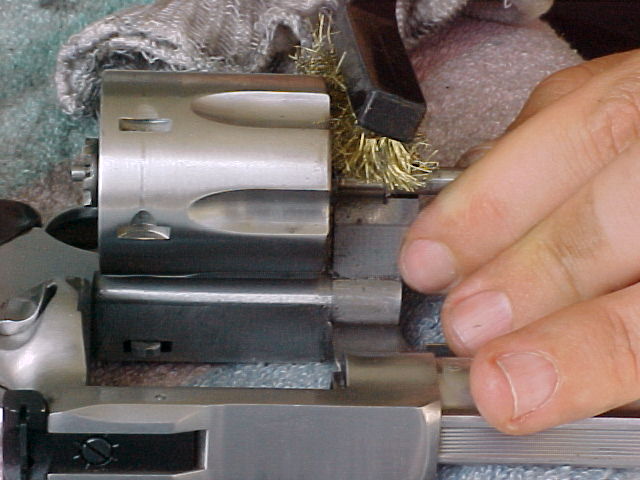
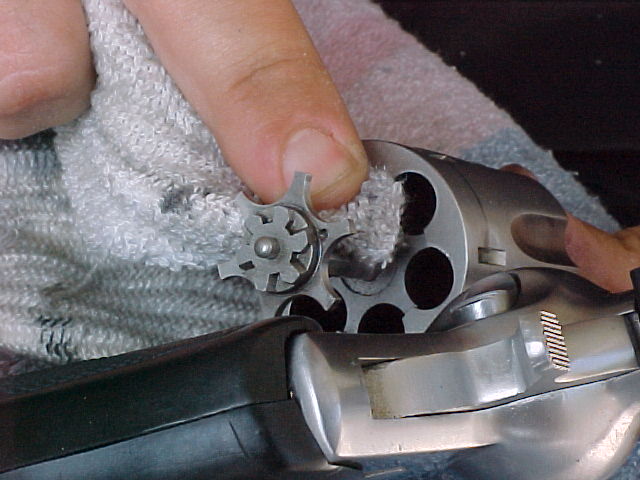
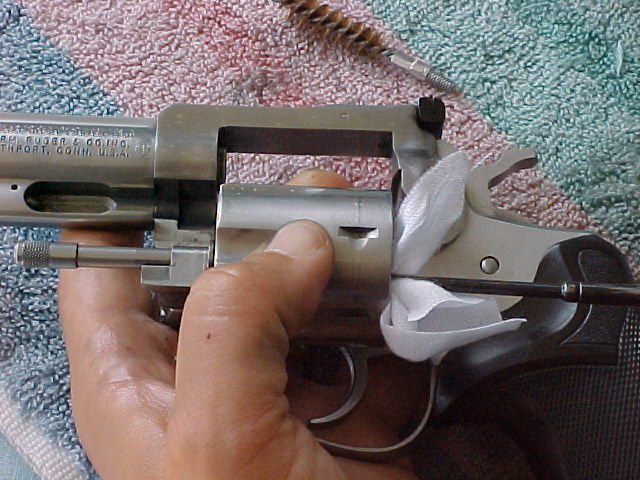
Press in the ejector rod so that the cylinder "star" is extended (as shown
here). With fresh solvent, clean the entire mechanism with the brass brush.
|
|
Wipe off all excess solvent with a clean cloth when done.
|

|
Dip the bore brush in the cleaning solvent and insert the bore brush in the
cylinder chambers, one by one.
|

|
As with the cleaning of the barrel, be sure the bore brush fully exits the
chamber on the up and down stroke. Clean each chamber to your satisfaction
with the bore brush.
|
|
Soak a cleaning pad in the solvent and, in the same method as used with the
bore brush, clean each cylinder chamber until the pads no longer pick up
visible contaminants.
|
|
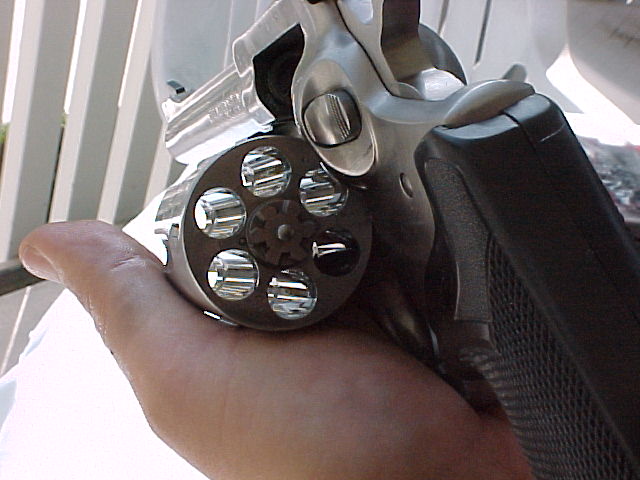
Inspect the chambers for cleanliness. Use the light-bending bar for additional
illumination.
|
|
Once the chambers are cleaned to your satisfaction, use a dry cleaning pad to
remove all excess solvent from the chambers.
|
|
Use a clean cloth to remove excess solvent from all other parts of the firearm.
|

|
Apply gun oil to a clean pad... |
|
...and treat all surfaces of the firearm with the gun oil, with the
exception of the barrel and cylinder chambers. Gun oil in either the
barrel or chambers can degrade performance of your firearm and will generally
attract more contaminants.
|
|
Once done oiling, remove all excess gun oil with a clean cloth.
|

|
Once done polishing off the excess gun oil, rub a silicone-impregnated cloth
over the entire outer surface of the firearm.
|
|
We are now ready to proceed with reassembling
the firearm.
|
|